Overview
This document provides basic understanding of jEnv and its important. We also go through each set to set up, and then use jenv to manage different JDK versions.
What is jEnv
- This is command line tool to manage multiple different versions of JDK installations.
- It basically sets JAVA_HOME inside our shell in a way that can be set globally, locally to the current working directory. We can update both ~/.bashrc or ~/.zshrc profile to use jenv.
- jEnv doesn’t install the Java JDK for us, rather helps us to manage multiple JDK installations
- This is useful as we can switch between different Java versions. This is helpful when working with multiple applications having different Java versions.
Setting up jenv in MAC
- brew install jenv
- In case its throwing error, try below workaround, sometimes it might now allow to override /usr/local path
sudo chmod +a “${USER} allow
list,add_file,search,add_subdirectory,delete_child,readattr,writeattr,readextattr,writeextattr,readsecurity” /usr/local/{bin,lib} - For Bash (we need to set jenv home, initialise jenv in our bash profile and then source our bash profile)
- echo ‘export PATH=”$HOME/.jenv/bin:$PATH”‘ >> ~/.bash_profile
- echo ‘eval “$(jenv init -)”‘ >> ~/.bash_profile
- source ~/.bash_profile
- Now lets do the same for (ZSH)
- echo ‘export PATH=”$HOME/.jenv/bin:$PATH”‘ >> ~/.zshrc
- echo ‘eval “$(jenv init -)”‘ >> ~/.zshrc
- source ~/.zshrc
- Next step is to add JDK path name
- (adding JDK 1.8) : jenv add /Library/Java/JavaVirtualMachines/jdk1.8.0_202.jdk/Contents/Home
- (adding jdk 17): jenv add /Library/Java/JavaVirtualMachines/jdk-17.jdk/Contents/Home
- Now check the if paths are added correctly
- Use command jenv versions
- Next step is to set Java Home using jenv (recommended approach is to use local)
- to set JAVA Home locally in a directory use: jenv local 1.8
- setting globally: jenv global 1.8
- Above command can be used to set for 17.
- Post this we need to set and enable maven and export plugin
- jenv enable-plugin maven // enable maven
- jenv enable-plugin export // export
- jenv disable-plugin maven // disable maven
- jenv disable-plugin export // disable export
- Post installation, use jenv –version to verify the version it has installed

Lets verify java version and maven


Troubleshooting tips
- To verify of jenv is set correctly, use command : jenv doctor

- if java home does not work or its not loaded by jenv, use below commands
- use jenv version to check if JDK paths are added , add the jre home again and source bash or zsh
- disable the plugin and maven
- enable both plugin and maven
- source bash/zsh profile again
- If jenv is not loaded correctly , export the path and perform echo ‘eval “$(jenv init)”‘>>~/.zshrc
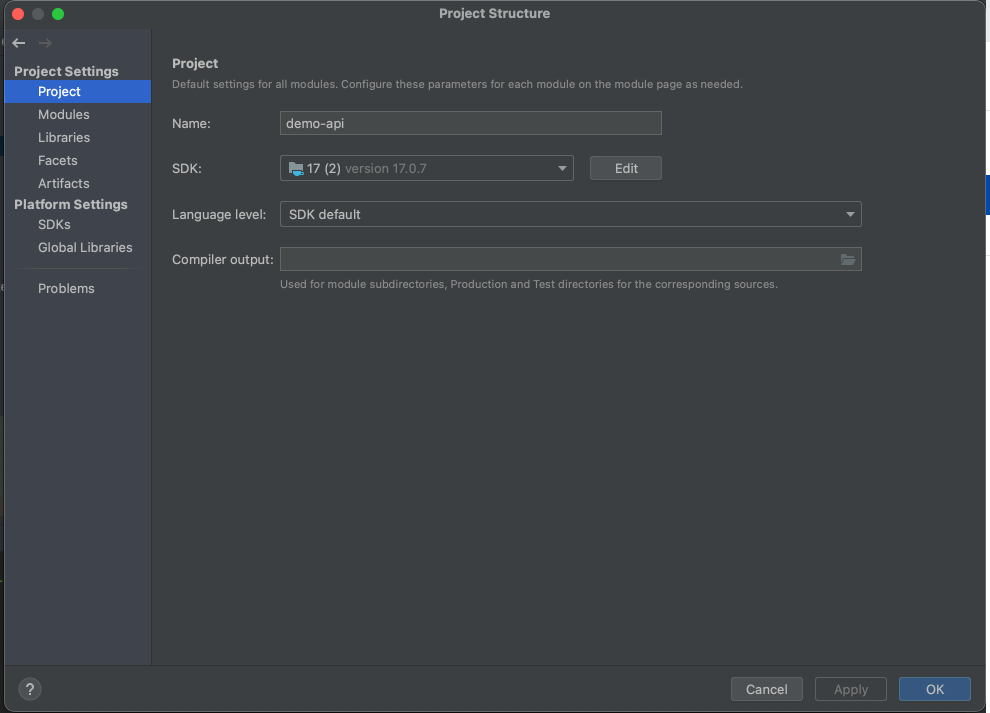
- If using Intellij, use below steps to configure and verify
1. You might need to change project structure setting to load correct JDK
2. Check the SDK version in project and platform settings, click apply and press ok. You might need to restart intellij.
